Microsoft Entra App Registrations: Client Credentials, App Roles, and Workload Identity Federation/Step 1 of 5
Create the App Registration for the API
In this step, we create the app registration for the back-end API application. This registration gives the back-end API its identity in Microsoft Entra ID. We, then, assign it the application permissions exposed by the API through its app roles.
Create the app registration
Open Azure Portal, go to app registrations and create new.
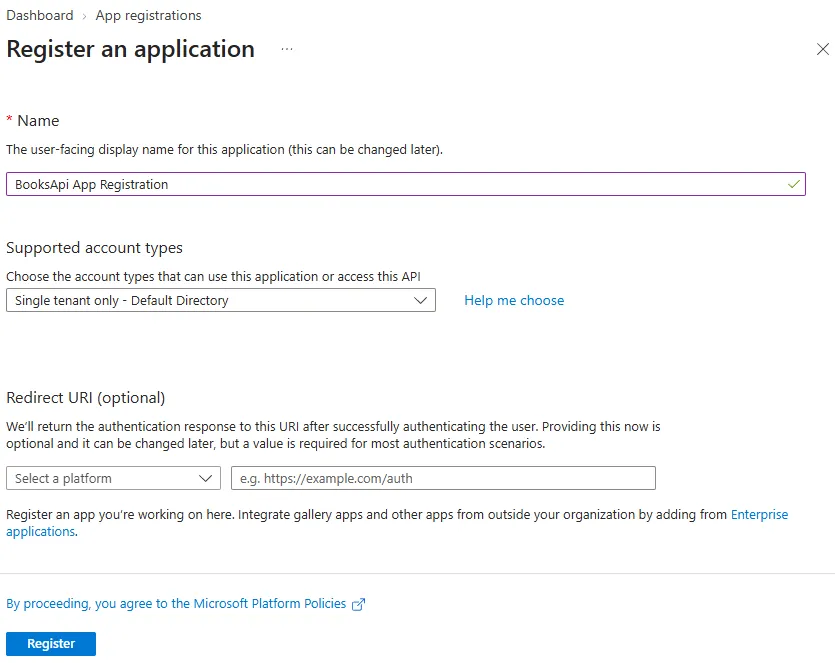
Our set-up does not rely on supported account types, as it is the client app (through the client app registration) that authenticates rather than a user.
So keep it to the default.
For the same reason, a redirect URI is irrelevant for our case.
Click ‘Register’.
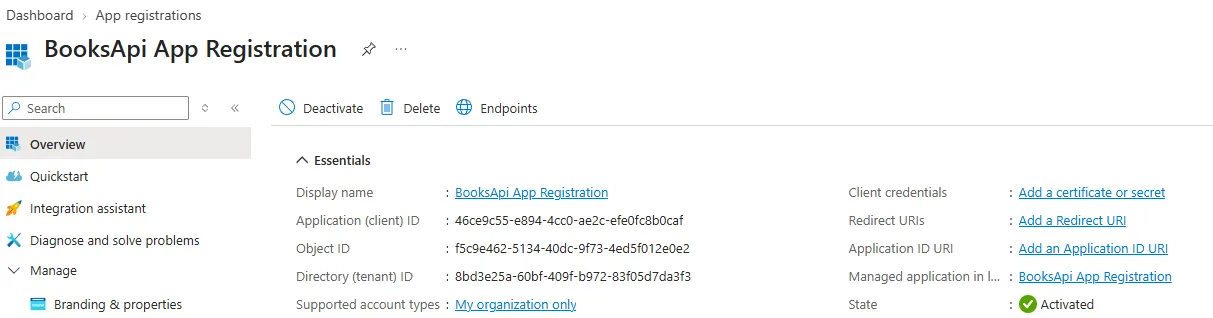
Set Application ID
The API app registation needs an application id.
Go go Expose an API and click the Add button after ‘Application ID URI’.

Clients use this identifier when requesting an access token (through the client app registration), for example: api://<application-id>/.default.
This tells Microsoft Entra ID which API the token is intended for. The resulting access token will contain this API as its audience (aud claim), as we will see later.
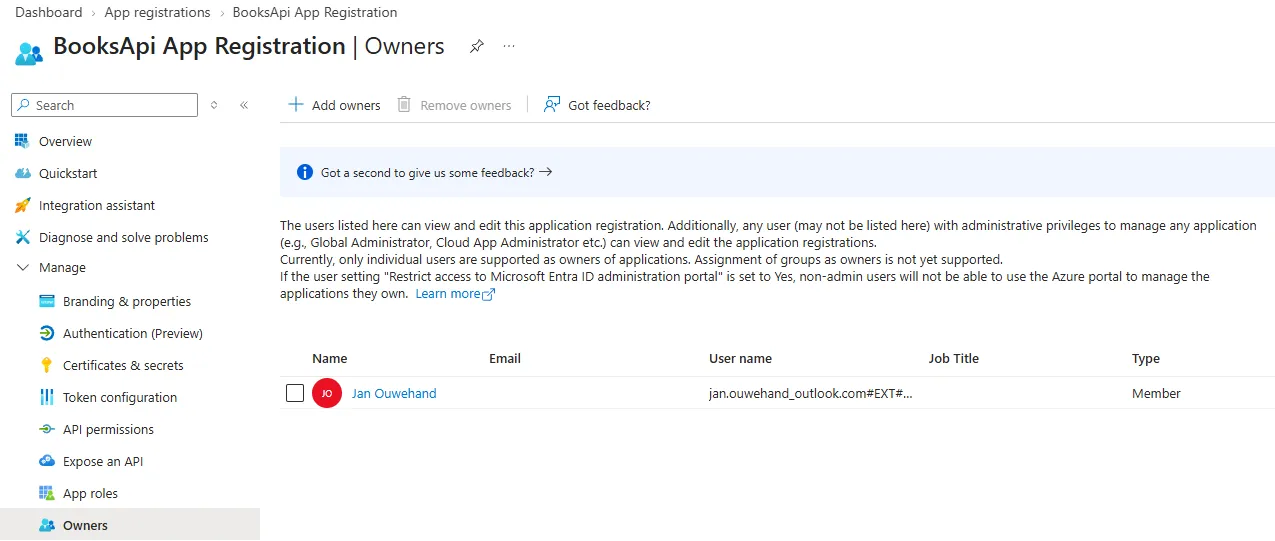
Set an Owner
Next, assign yourself as an owner of the API app registration.
This makes the API easier to discover later under My APIs when configuring API permissions on the client app registration.
Without an owner, the API may not appear there as expected.
Define the app roles
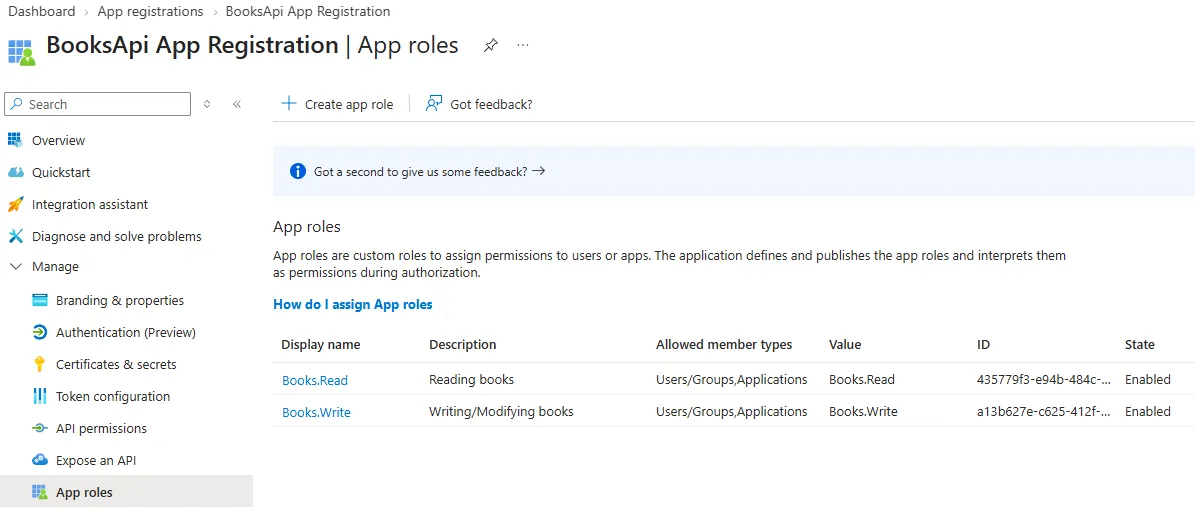
Finally, we define the supported app roles for the API back-end application.
Go to App roles and add Books.Read and Books.Write.
What is next
We’ve defined the back-en API app registration defining the back-end API. Important identifiers that we need later on include:
- Application ID URI:
api://46ce9c55-e894-4cc0-ae2c-efe0fc8b0caf
Next, we will create the client app registration.